How to use the Parabox eye decals (Example pics using the 1/3 scale head)
What you need for this project: Eye decals, tweezers, head, water. Also, q-tips and Kleenex will help.
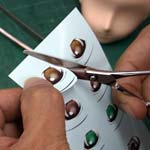
1.Cut out eye decals that you choose off the sheet. Cut eyes and eyebrows together.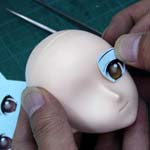
2.Check the location of the eye on the head. No need to be precise at this point.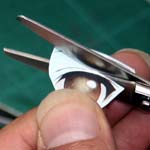
3.Cut apart the eyes and eye brows. Trim the eye as much as you can for best results.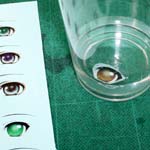
4.Soak the eye decal in water for 10 seconds. Don't soak it too long to avoid separation of the film and base paper.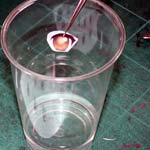
5.Take it out of the water.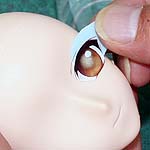
6.Put one end of the eye over the head, and peel the base paper off the decal.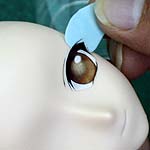
7.Remove the base paper completely.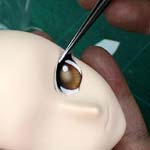
8.For adjusting, use the tweezers. The Parabox decals are very strong so they won't tear by doing this adjustment.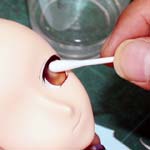
9.Use a q-tip to smooth out the decal. If you put the decal on an unflat surface, apply pressure from the center of the eye to the outside, to get rid of the air trapped in-between.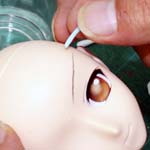
10.Next, apply the eyebrow.
Use the q-tip for adjustment and/or to smooth it.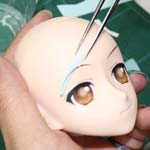
11.Attach the other eye. Consider the balance with the opposite eye and eye brow. Use the tweeters for adjustment if needed.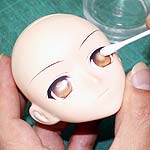
If you need to make further adjustment, but they have dried, wet them with a wet q-tip to loosen them.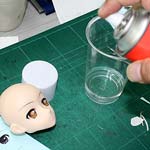
12.To complete the application, spray on a waterproof fixing solution to coat all decals. The product in the picture is called Mini Graphics by Kusakabe. It is for dessin or acrylic paint. For best results, spray it from 30cm away.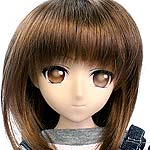 To make your head complete, add a wig and attach it to the body.


